
Deep linking is supported by Flutter on web browsers, iOS, and Android. Your app shows that screen when you open a URL. You can use named routes (either with the routes parameter or onGenerateRoute) or the Router widget to launch and display routes with the instructions below.
No extra setup is necessary if you are using the app in a web browser. The same procedures apply to route pathways as they do to an iOS or Android deep link. Web apps can modify this behaviour by setting the URL strategy for your application. By default, web apps read the deep link path from the url fragment using the pattern: /#/path/to/app/screen.
Set up app links for Android
A method for launching an app with a URI is called deep linking. This URI launches the application to a certain screen and includes the scheme, host, and path.
An app link is a specific kind of deep link available only on Android smartphones, which use http or https.
Having a web domain is necessary in order to set up app linkages. If so, you might want to look into GitHub Pages or Firebase Hosting as a stopgap option.
Customize a Flutter application
Create a Flutter application with the ability to manage incoming URLs. The go_router package is used in this example to manage routing. The go_router package is maintained by the Flutter team. It offers a straightforward API to manage intricate routing situations.
To create a new application, type flutter create <app-name>:content_copy
flutter create deeplink_cookbookTo include go_router package in your app, add a dependency for go_router to the project:
To add the go_router package as a dependency, run flutter pub add:
flutter pub add go_routerTo handle the routing, create a GoRouter object in the main.dart file:
import 'package:flutter/material.dart';
 import 'package:go_router/go_router.dart';

 void main() => runApp(MaterialApp.router(routerConfig: router));

 /// This handles '/' and '/details'.
 final router = GoRouter(
   routes: [
     GoRoute(
       path: '/',
       builder: (_, __) => Scaffold(
         appBar: AppBar(title: const Text('Home Screen')),
       ),
       routes: [
         GoRoute(
           path: 'details',
           builder: (_, __) => Scaffold(
             appBar: AppBar(title: const Text('Details Screen')),
           ),
         ),
       ],
     ),
   ],
);Modify AndroidManifest.xml
- Open the Flutter project with VS Code or Android Studio.
- Navigate to
android/app/src/main/AndroidManifest.xmlfile. - Add the following metadata tag and intent filter inside the
<activity>tag with.MainActivity.
Replace example.com with your own web domain.
 <meta-data android:name="flutter_deeplinking_enabled" android:value="true" />
 <intent-filter android:autoVerify="true">
     <action android:name="android.intent.action.VIEW" />
     <category android:name="android.intent.category.DEFAULT" />
     <category android:name="android.intent.category.BROWSABLE" />
     <data android:scheme="http" android:host="example.com" />
     <data android:scheme="https" />
 </intent-filter>
Hosting assetlinks.json file
Use one of your own domains’ web servers to host an assetlinks.json file. This file instructs the mobile browser—rather than the browser—which Android application to launch. Obtain the package name of the Flutter application you made in the preceding step and the signing key’s sha256 fingerprint in order to construct the file. This will be needed to build the APK.
Package name
Locate the package name in AndroidManifest.xml, the package property under <manifest> tag. Package names are usually in the format of com.example.*.
sha256 fingerprint
The process might differ depending on how the apk is signed.
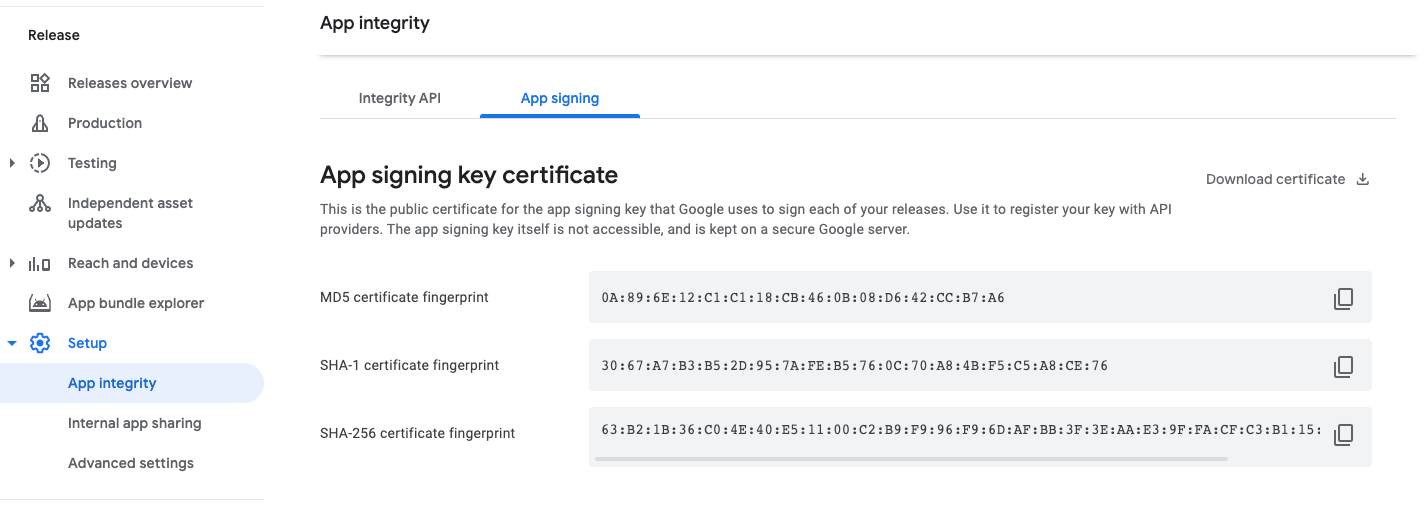
Using google play app signing
You can find the sha256 fingerprint directly from play developer console. Open your app in the play console, under Release> Setup > App Integrity> App Signing tab:
Using local keystore
If you are storing the key locally, you can generate sha256 using the following command:
keytool -list -v -keystore <path-to-keystore>assetlinks.json
The hosted file should look similar to this:
[{
  "relation": ["delegate_permission/common.handle_all_urls"],
  "target": {
    "namespace": "android_app",
    "package_name": "com.example.deeplink_cookbook",
    "sha256_cert_fingerprints":
    ["FF:2A:CF:7B:DD:CC:F1:03:3E:E8:B2:27:7C:A2:E3:3C:DE:13:DB:AC:8E:EB:3A:B9:72:A1:0E:26:8A:F5:EC:AF"]
  }
}]- Set the
package_namevalue to your Android application ID. - Set sha256_cert_fingerprints to the value you got from the previous step.
- Host the file at a URL that resembles the following:
<webdomain>/.well-known/assetlinks.json - Verify that your browser can access this file.
Testing
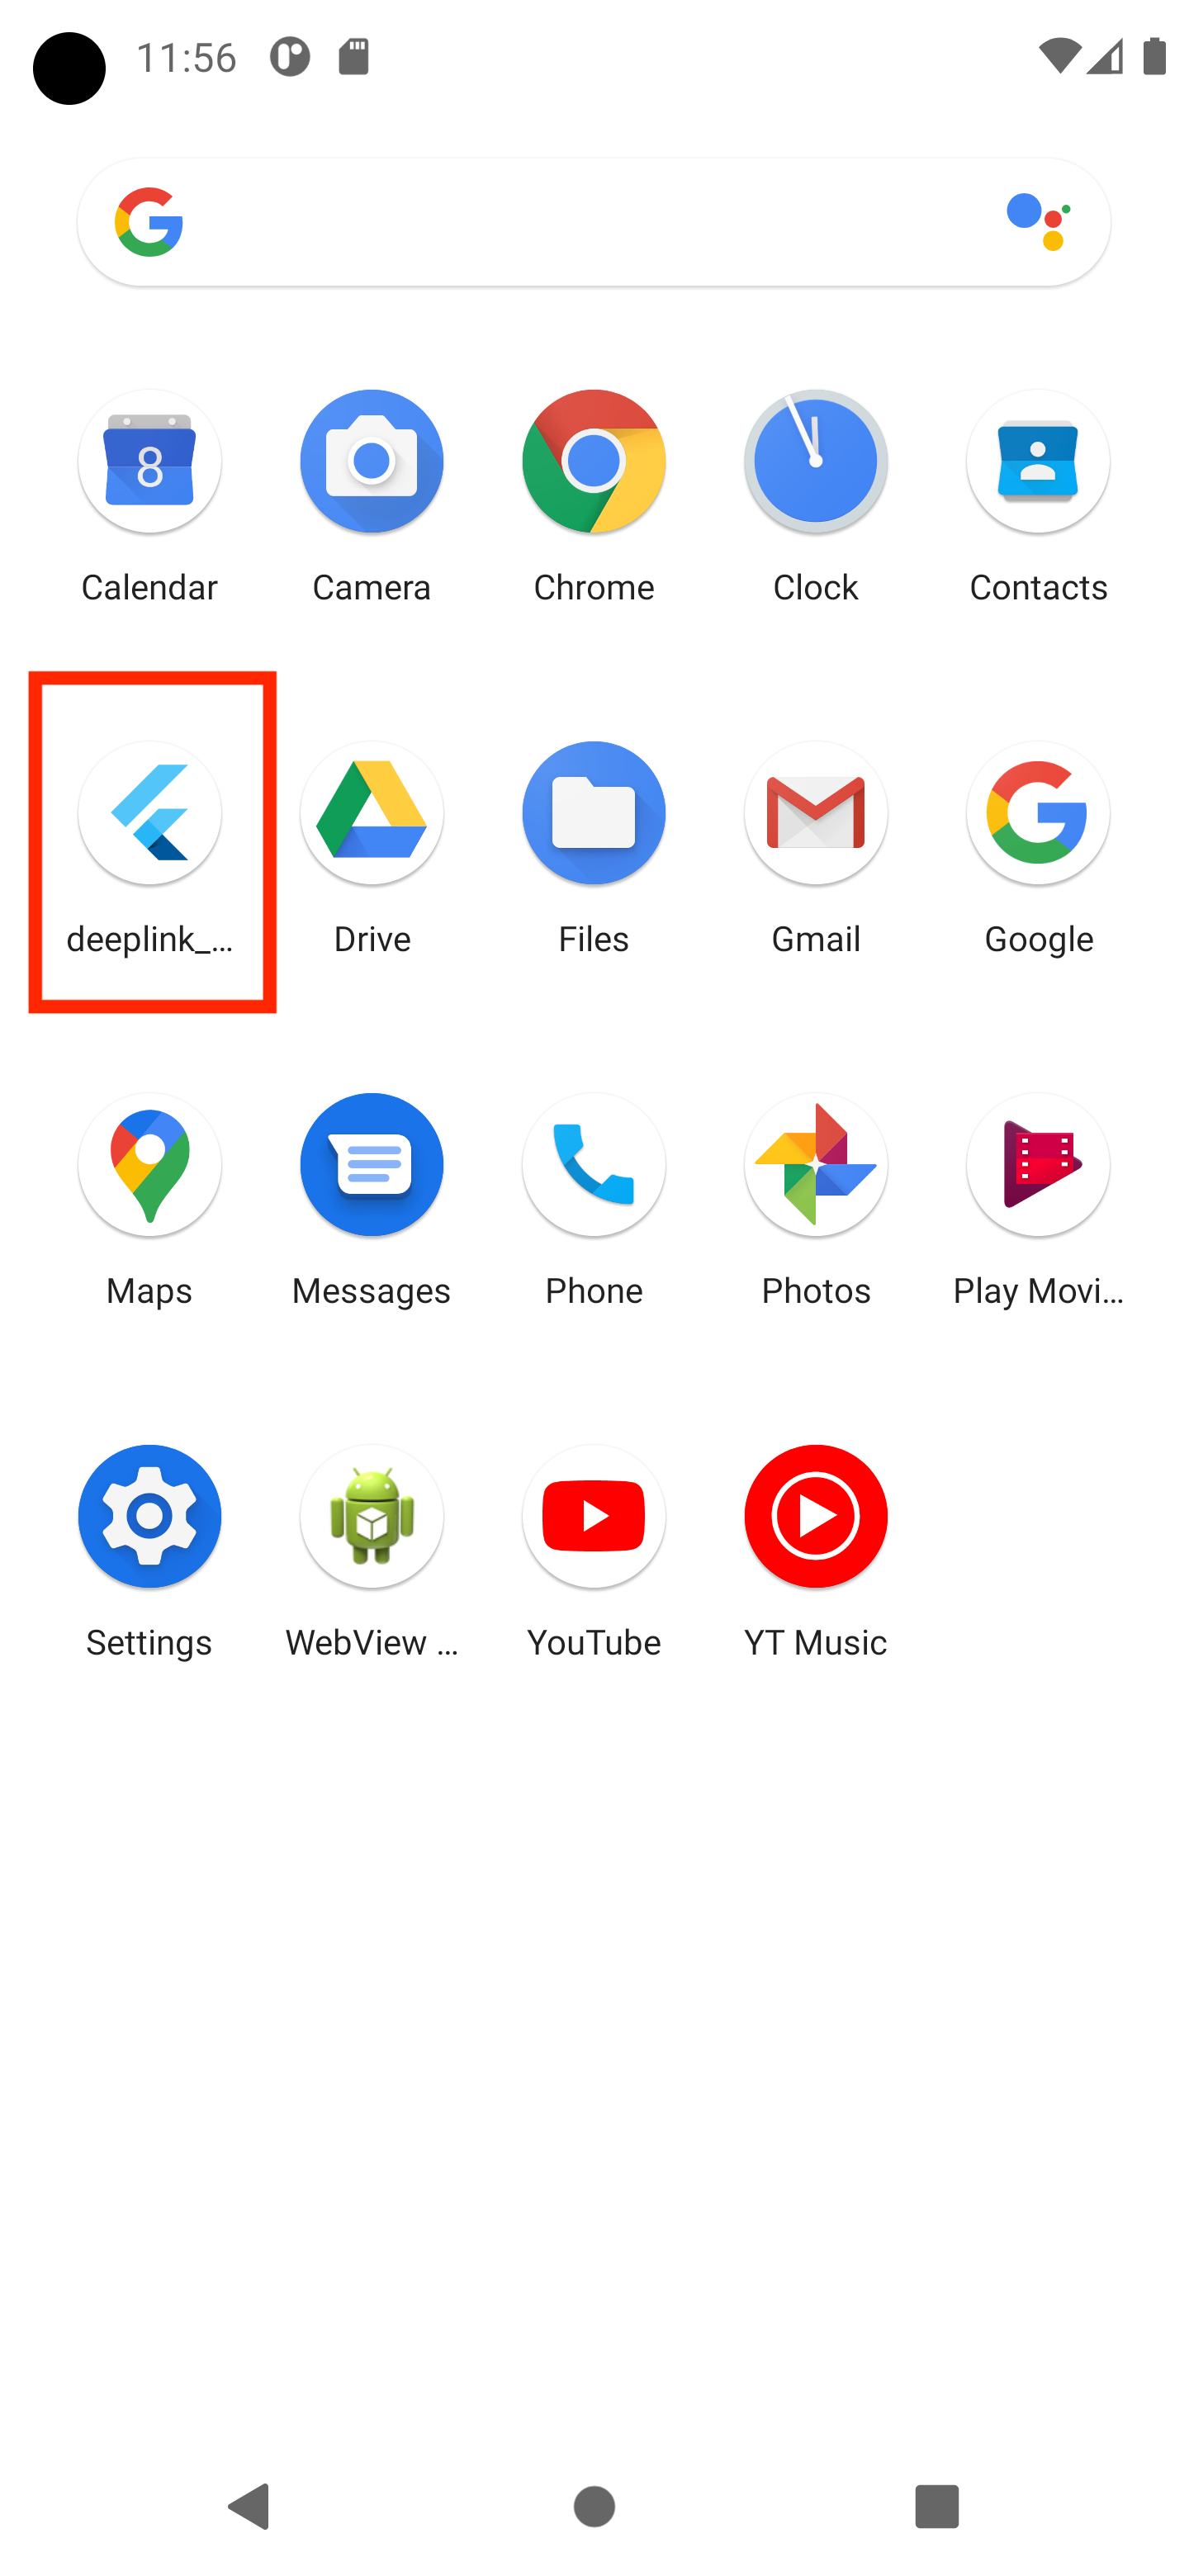
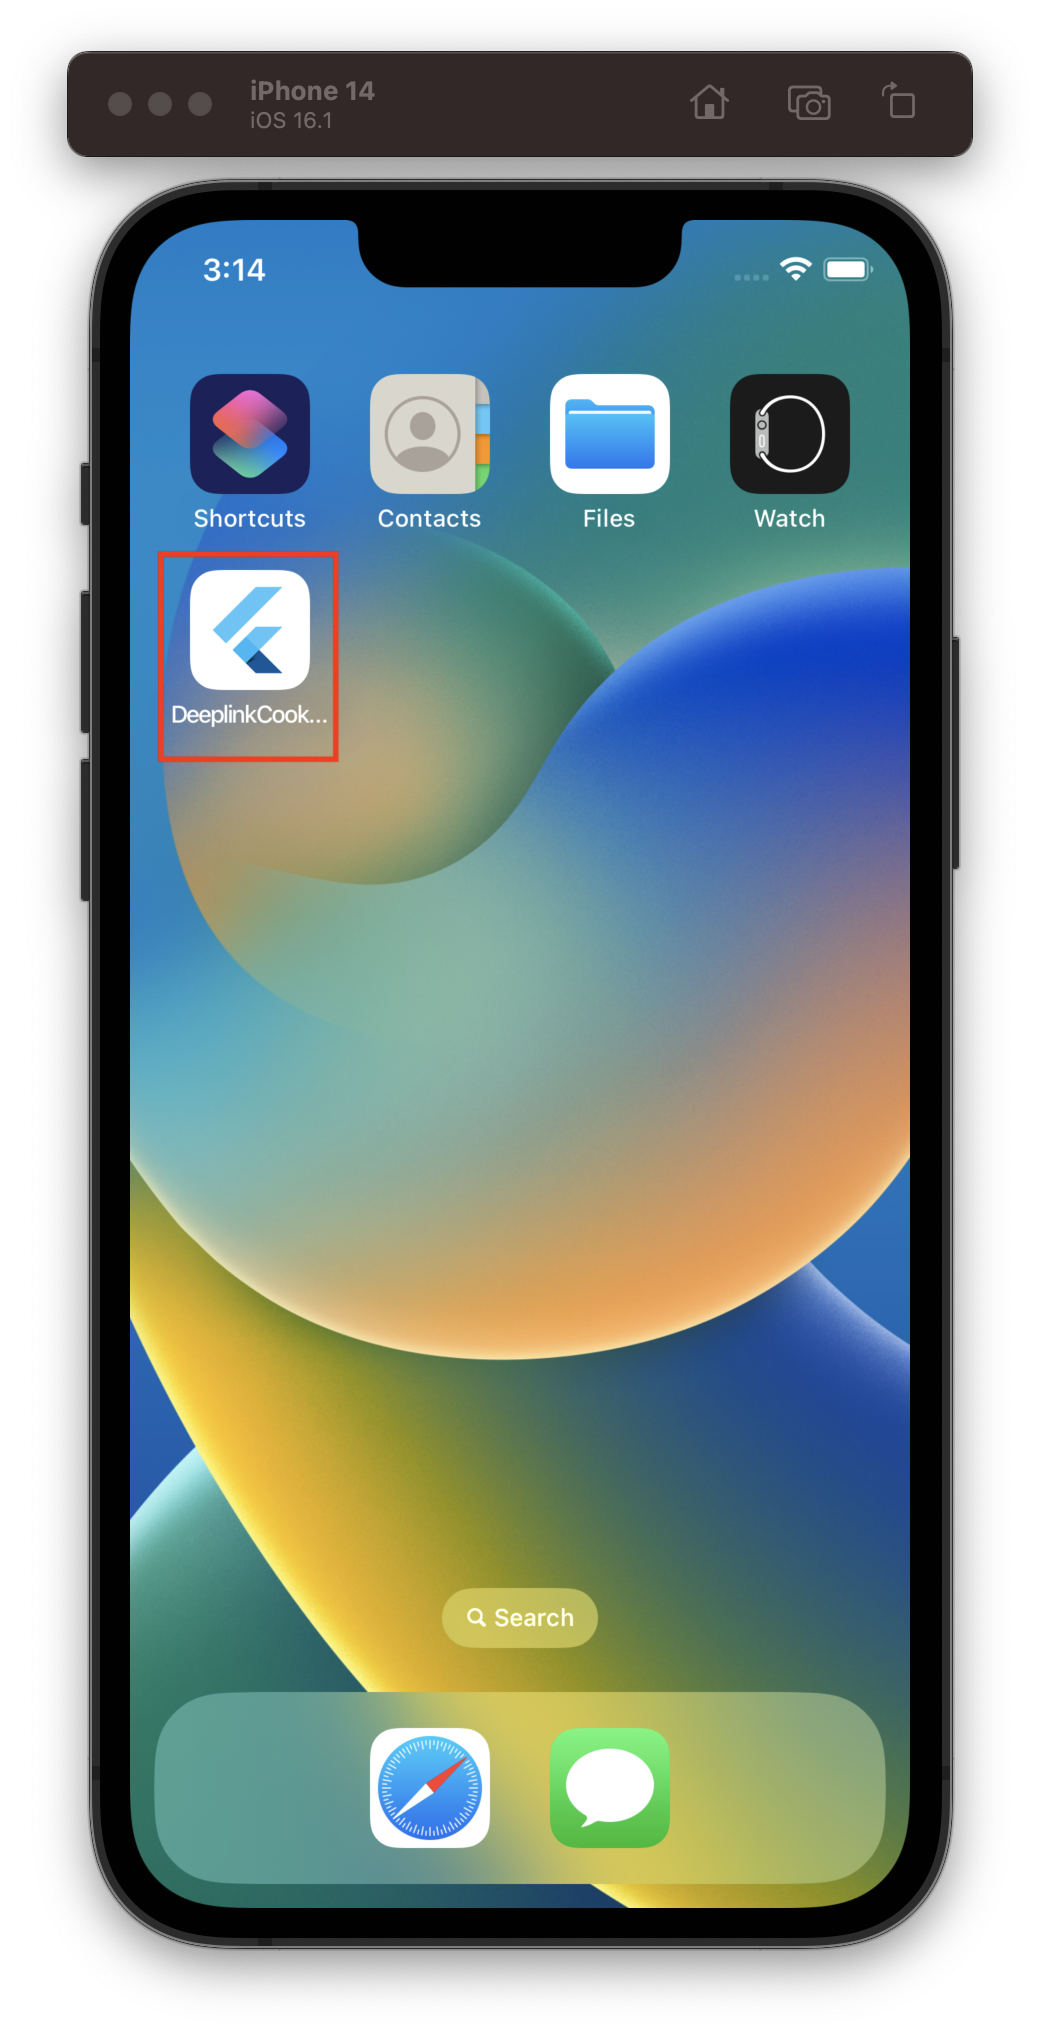
To test an app link, you can use an actual device or the emulator, but before you do, make sure you’ve performed Flutter run on each device at least once. This guarantees the installation of the Flutter application.
To test only the app setup, use the adb command:content_copy
adb shell 'am start -a android.intent.action.VIEW \
    -c android.intent.category.BROWSABLE \
    -d "http://<web-domain>/details"' \
    <package name>
To test both web and app setup, you must click a link directly through web browser or another app. One way is to create a Google Doc, add the link, and tap on it.
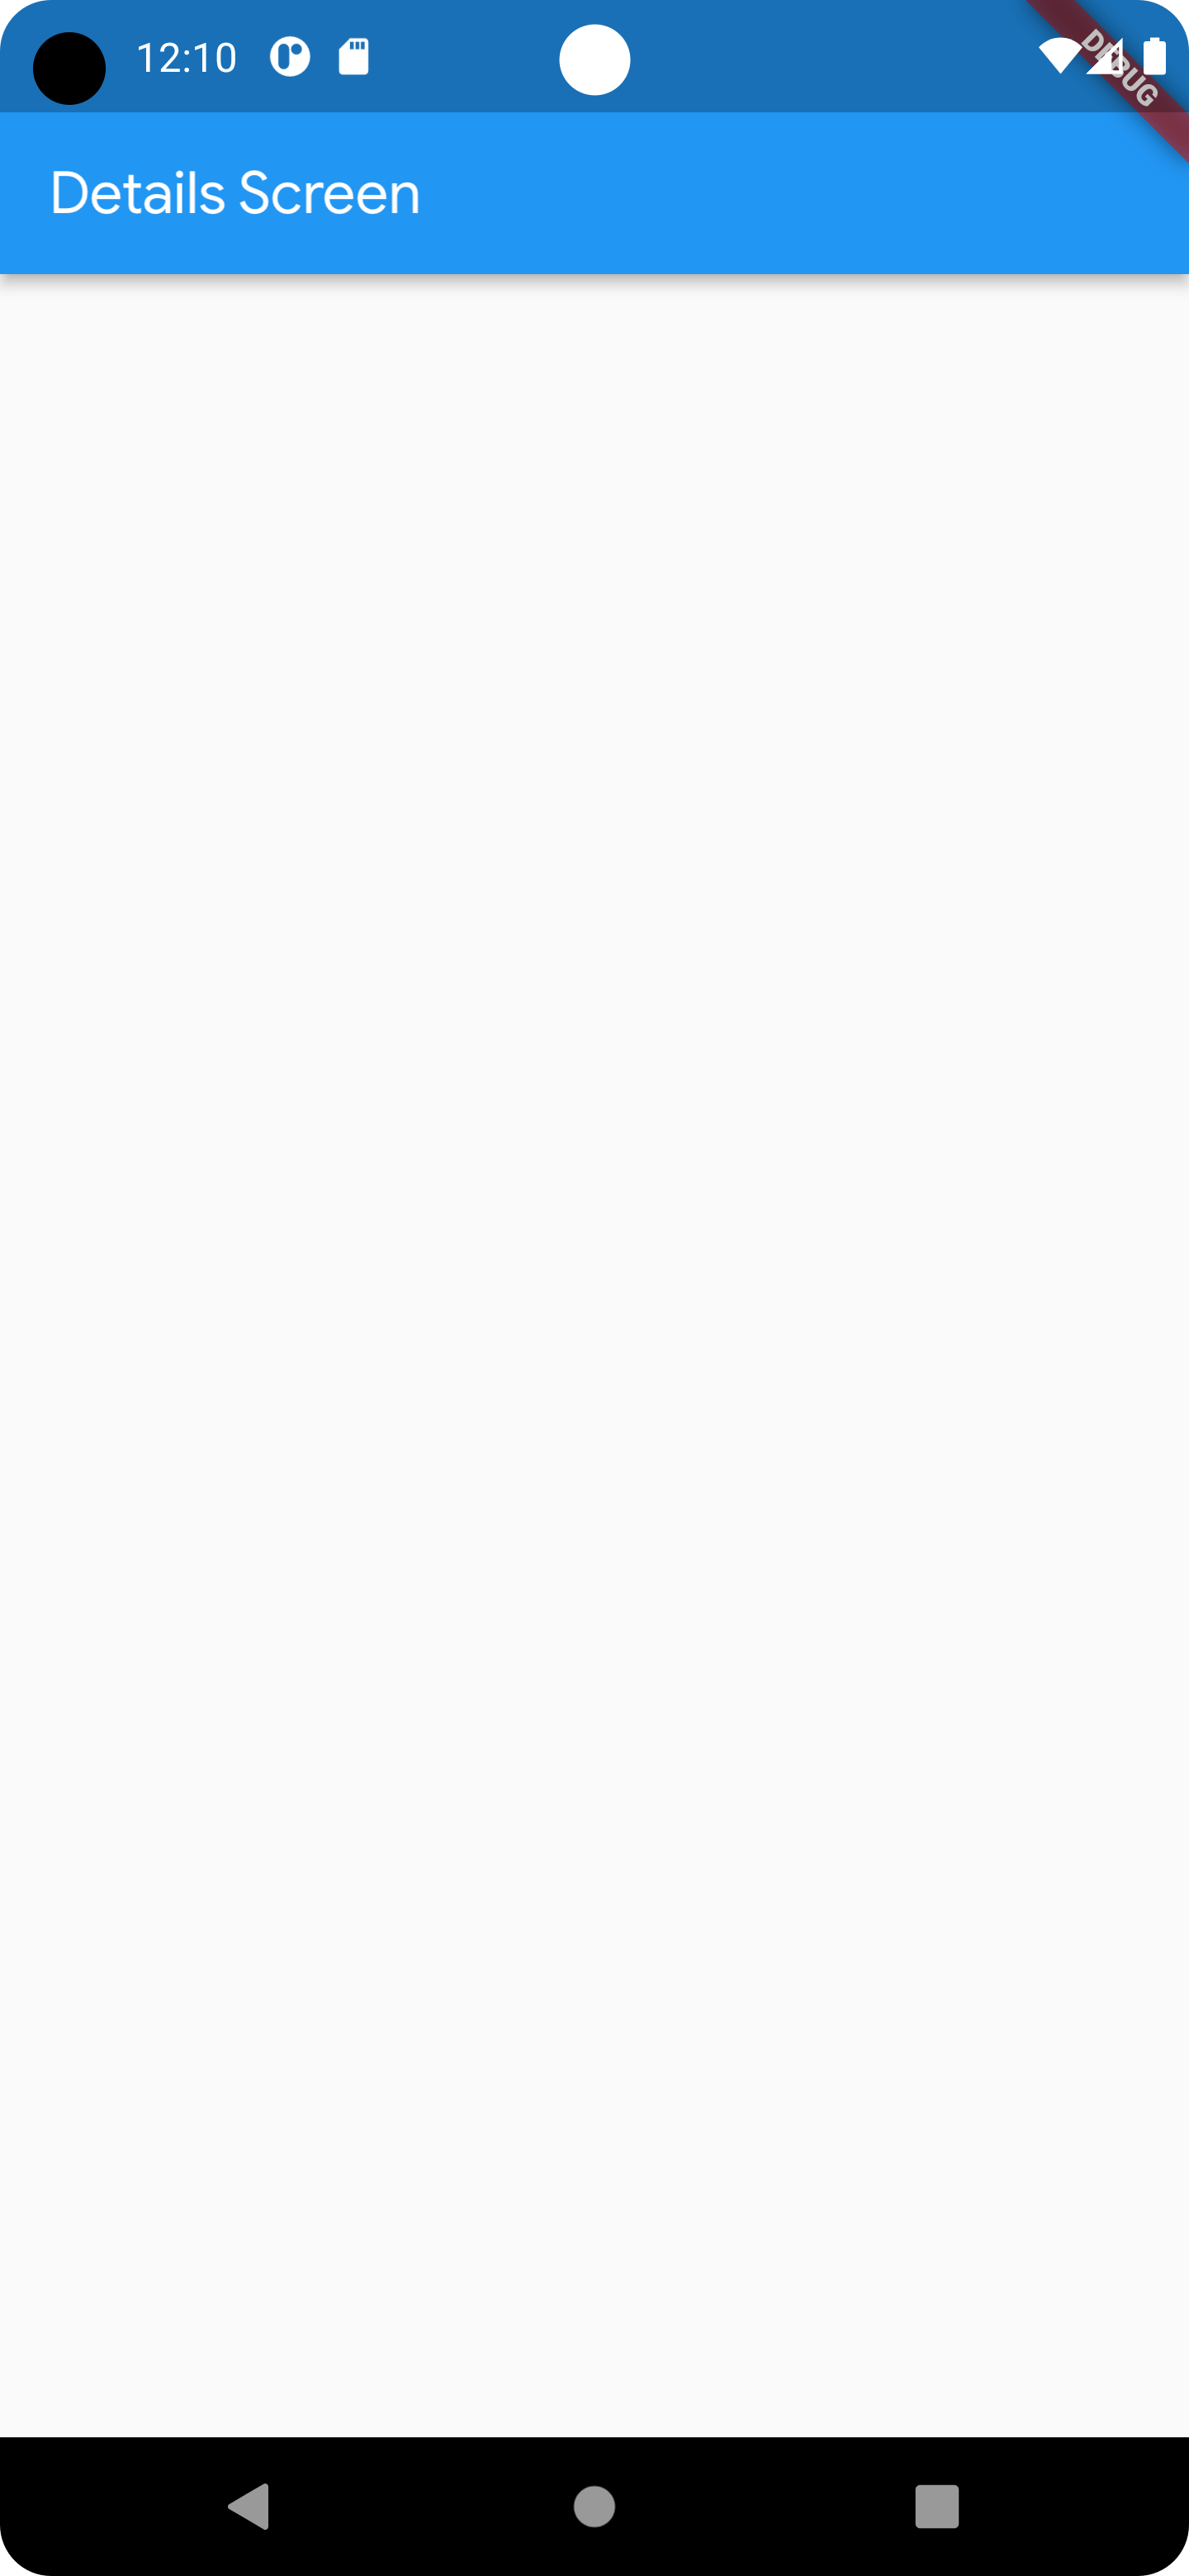
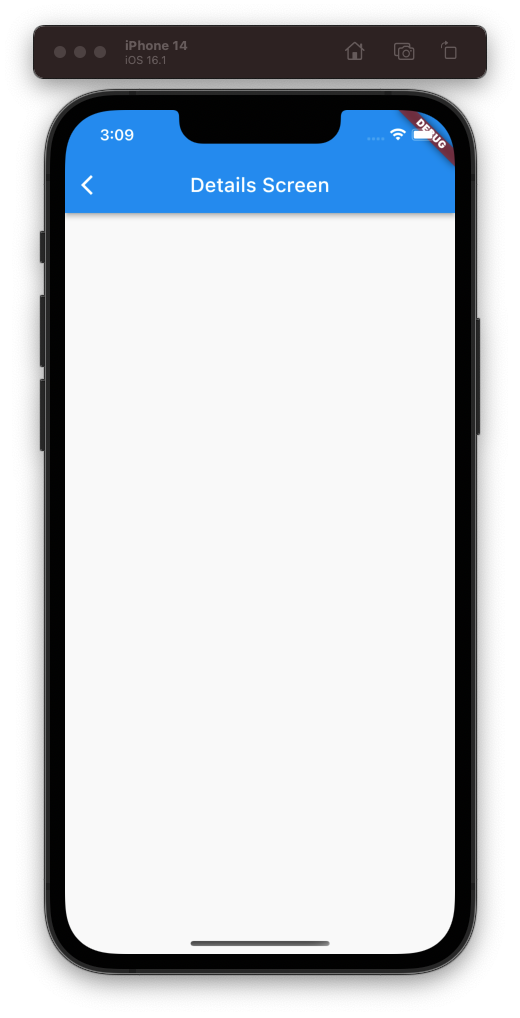
If everything is set up correctly, the Flutter application launches and displays the details screen:
Set up universal links for iOS
A method for launching an app with a URI is called deep linking. This URI launches the application to a certain screen and includes scheme, host, and path.
A universal link is a special kind of deep link that is only compatible with Apple products and uses http or https.
Having a web domain is necessary in order to set up global links. If so, you might want to look into GitHub Pages or Firebase Hosting as a stopgap option.
Adjust iOS build settings
- Launch Xcode.
- Open the
ios/Runner.xcworkspacefile inside the project’siosfolder. - Navigate to the
InfoPlist file in theios/Runnerfolder.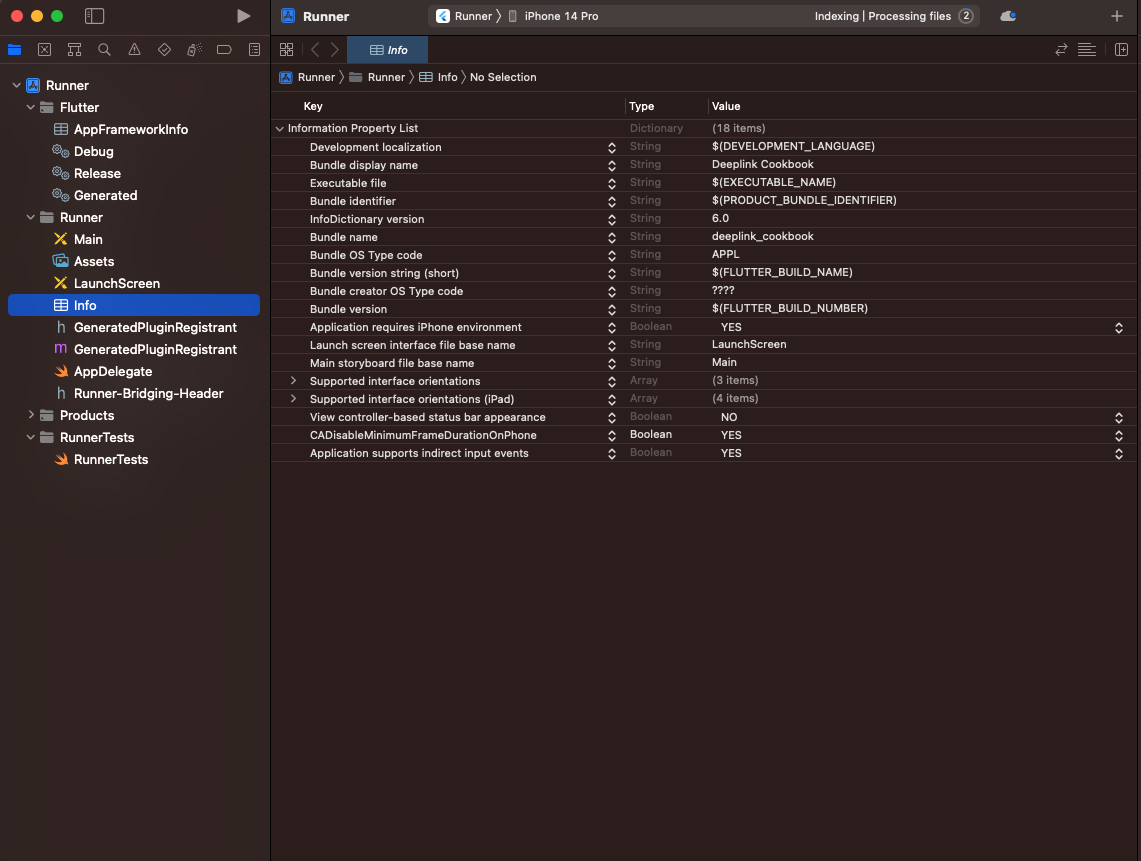
- In the
Infoproperty list, control-click at the list to add a row. - Control-click the newly added row and turn on the Raw Keys and Values mode
- Update the key to
FlutterDeepLinkingEnabledwith aBooleanvalue set toYES.
- Click the top-level Runner.
- Click Signing & Capabilities.
- Click + Capability to add a new domain.
- Click Associated Domains.
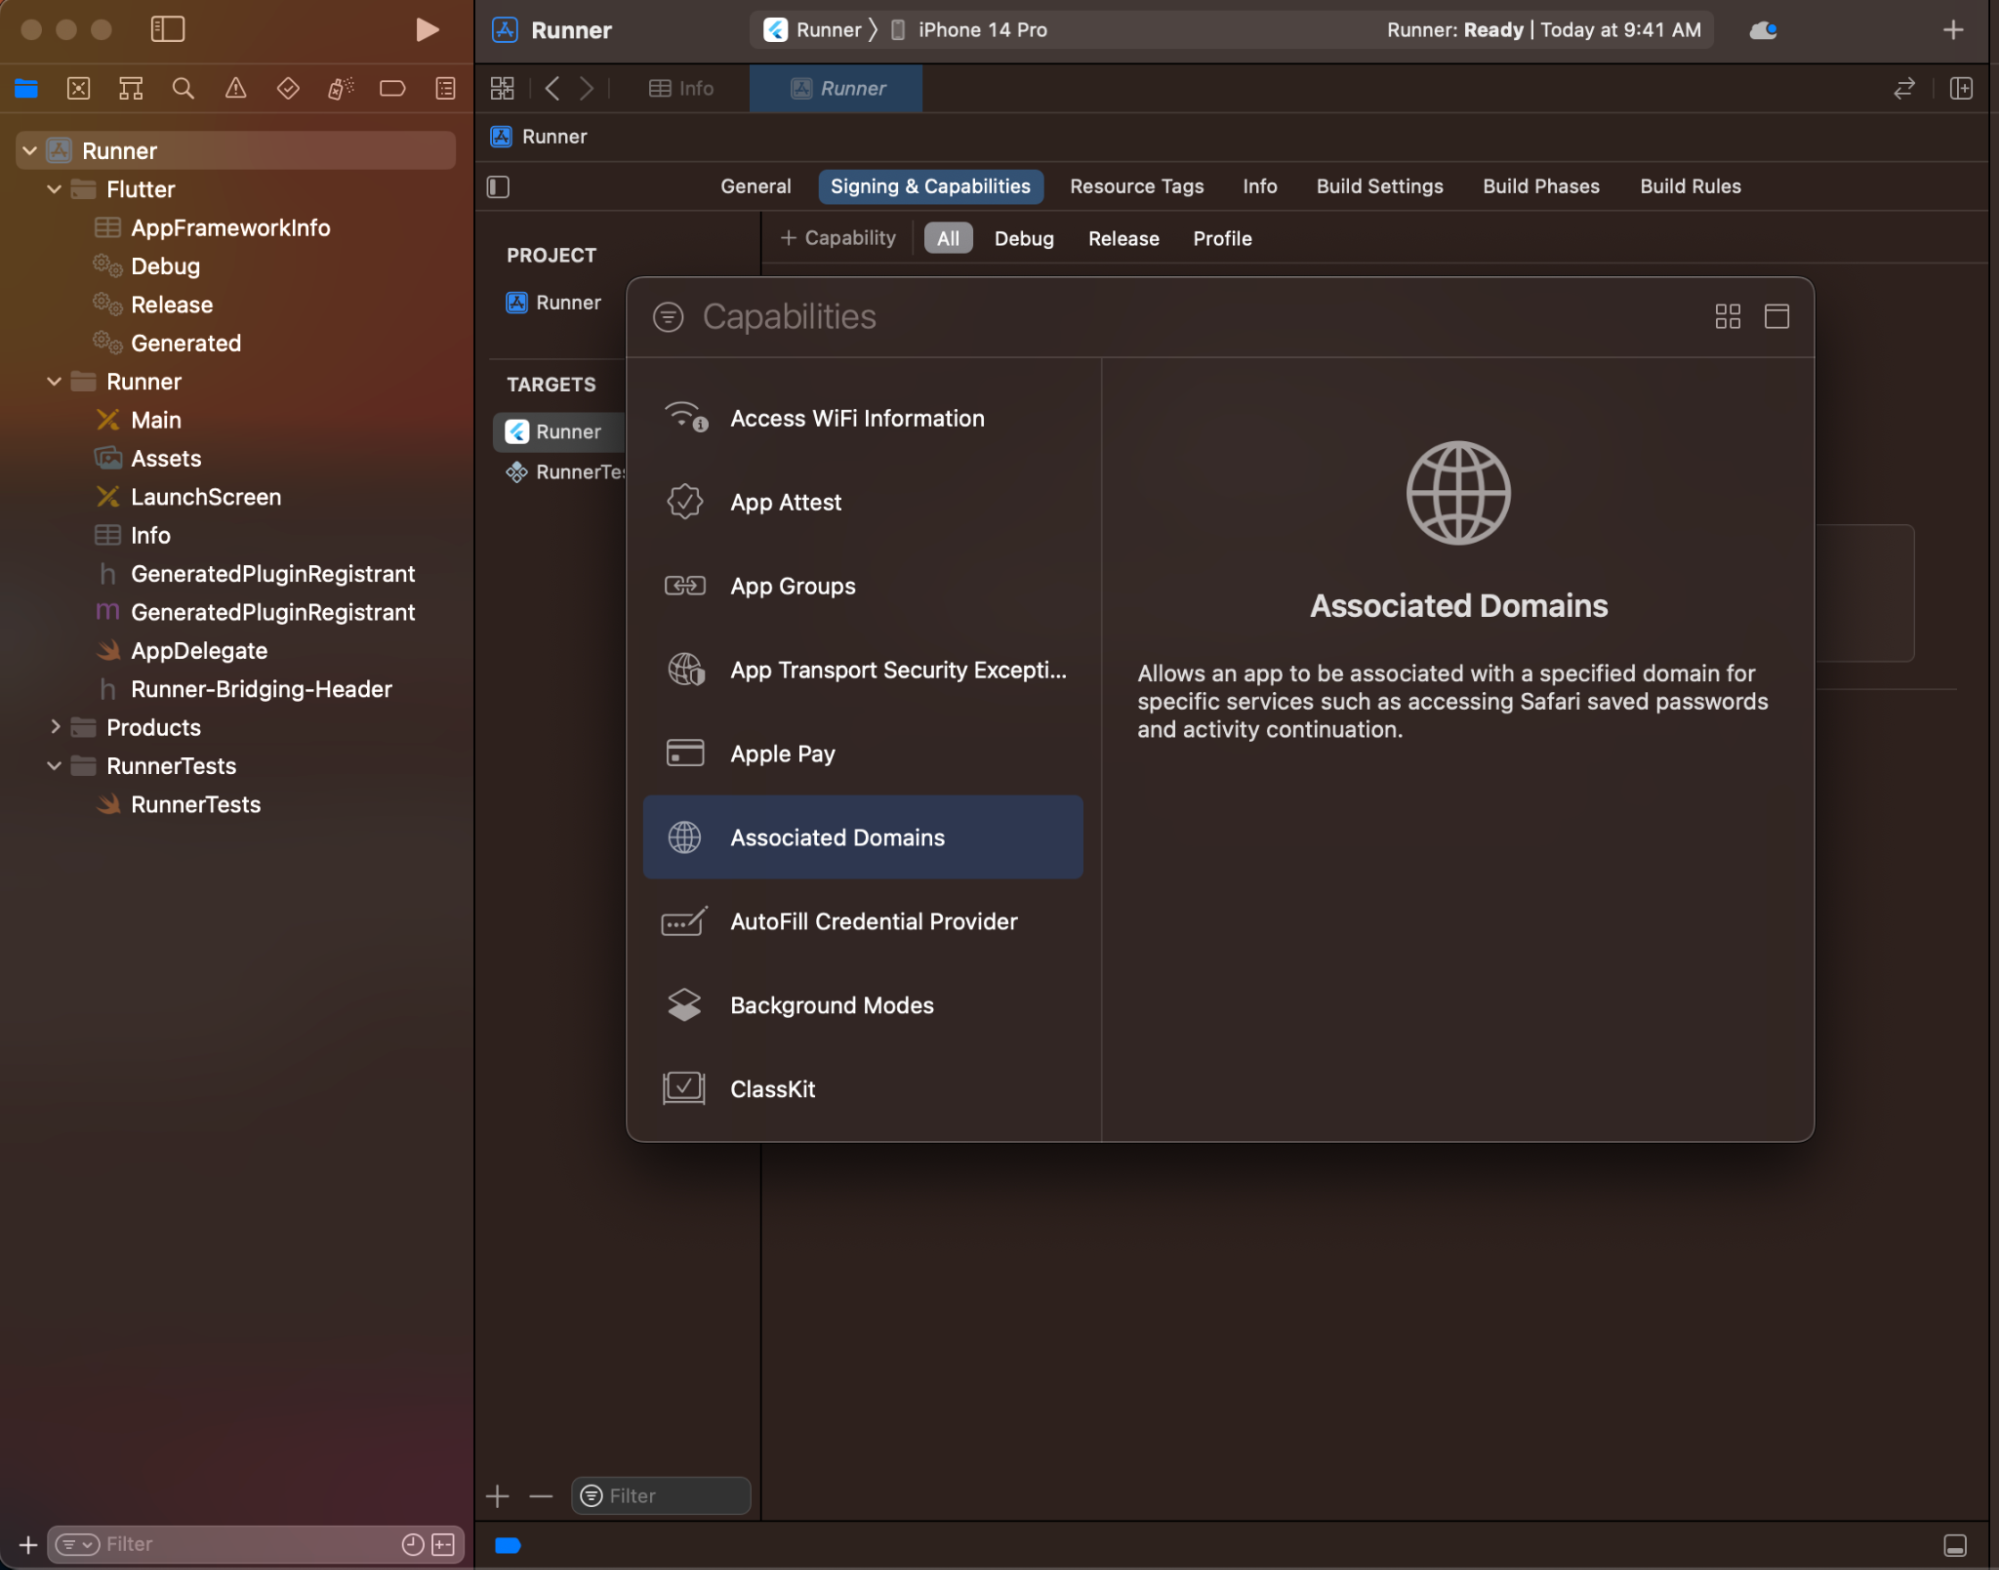
- In the Associated Domains section, click +.
- Enter
applinks:<web domain>. Replace<web domain>with your own domain name.
- You have finished configuring the application for deep linking.
Hosting apple-app-site-association file
You need to host an apple-app-site-association file in the web domain. This file tells the mobile browser which iOS application to open instead of the browser. To create the file, get the app ID of the Flutter app you created in the previous step.
App ID
Apple formats the app ID as <team id>.<bundle id>.
- Locate the bundle ID in the Xcode project.
- Locate the team ID in the developer account.
For example: Given a team ID of S8QB4VV633 and a bundle ID of com.example.deeplinkCookbook, The app ID is S8QB4VV633.com.example.deeplinkCookbook.
apple-app-site-association
{
  "applinks": {
      "apps": [],
      "details": [
      {
        "appID": "S8QB4VV633.com.example.deeplinkCookbook",
        "paths": ["*"]
      }
    ]
  }
}- Set the
appIDvalue to<team id>.<bundle id>. - Set the
pathsvalue to["*"]. Thepathsfield specifies the allowed universal links. Using the asterisk,*redirects every path to the Flutter application. If needed, change thepathsvalue to a setting more appropriate to your app. - Host the file at a URL that resembles the following:
<webdomain>/.well-known/apple-app-site-association - Verify that your browser can access this file.
Testing
You can use a real device or the Simulator to test a universal link, but first make sure you have executed flutter run at least once on the devices. This ensures that the Flutter application is installed.
If using the Simulator, test using the Xcode CLI:content_copy
$ xcrun simctl openurl booted https://<web domain>/details
Otherwise, type the URL in the Note app and click it.
If everything is set up correctly, the Flutter application launches and displays the details screen:
Initial Link (Uri)
Same as the getInitialLink, but converted to a Uri.
NOTE: You should handle this very early in your app’s life and handle it only once.
add dependency:
dependencies:
  flutter:
    sdk: flutter

  cupertino_icons: ^1.0.2
  uni_links: 0.5.1 #add tis line
// Uri parsing may fail, so we use a try/catch FormatException.
try {
final initialUri = await getInitialUri();
// Use the uri and warn the user, if it is not correct,
// but keep in mind it could be `null`.
} on FormatException {
// Handle exception by warning the user their action did not succeed
// return?
}
// ... other exception handling like PlatformExceptionOne can achieve the same by using Uri.parse(initialLink), which is what this convenience method does.
On change event (String)
Usually you would check the getInitialLink and also listen for changes.
import 'dart:async';
import 'dart:io';

import 'package:uni_links/uni_links.dart';

// ...

  StreamSubscription _sub;

  Future<void> initUniLinks() async {
    // ... check initialLink

    // Attach a listener to the stream
    _sub = linkStream.listen((String? link) {
      // Parse the link and warn the user, if it is not correct
    }, onError: (err) {
      // Handle exception by warning the user their action did not succeed
    });

    // NOTE: Don't forget to call _sub.cancel() in dispose()
  }

// ...On change event (Uri)
Same as the linkStream, but transformed to emit Uri objects.
Usually you would check the getInitialUri and also listen for changes.
import 'dart:async';
import 'dart:io';

import 'package:uni_links/uni_links.dart';

// ...

  StreamSubscription _sub;

  Future<void> initUniLinks() async {
    // ... check initialUri

    // Attach a listener to the stream
    _sub = uriLinkStream.listen((Uri? uri) {
      // Use the uri and warn the user, if it is not correct
    }, onError: (err) {
      // Handle exception by warning the user their action did not succeed
    });

    // NOTE: Don't forget to call _sub.cancel() in dispose()
  }

// ...
Very useful article